With doogiePIM, Resources can be used as your "Database Users". Imagine you have an office where there is:
example:
Billy - The Technical administrator.
Joan - Office Manager
Sally - Secretary
Todd - Trainee Clerk
These four people all access the same doogiePIM database that is located on a master PC. However, the Trainee Clerk is not allowed to access any email, finance or contact data, he can only have access to the Tasks. The Office Manager will access everything except the ability to do backups and building indexes. The secretary only has access only to the Calendar and Tasks.
This example scenario can be realized with the use of Resources.
Firstly, each member of the office will be added to the Resources section:
See Managing Resource Records for more information.
Billy is setup as the "DB Administrator". This means Billy is the top level controller for the database so has access to everything. This is all the functions of doogiePIM.
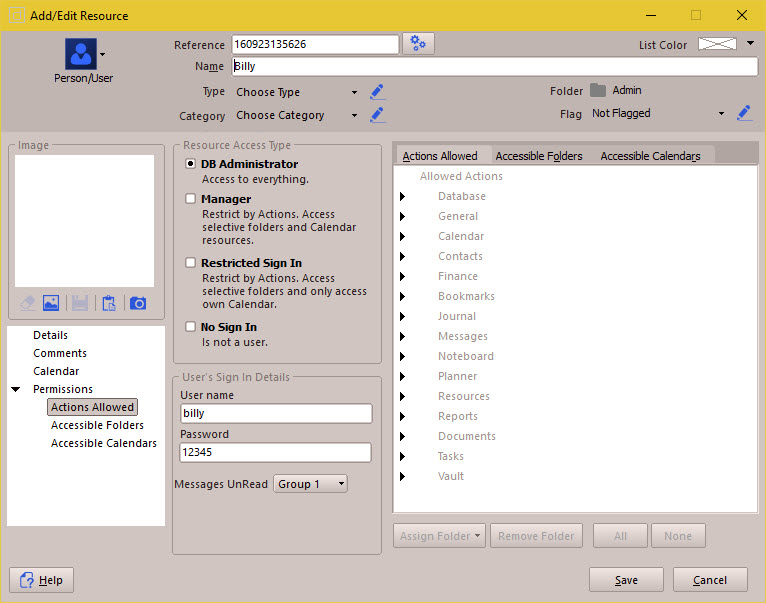
It is very important that when the Username and Password is assigned, these will need to be recorded somewhere safe. Do not lose your admin username and password, otherwise you won't be able to access your database.
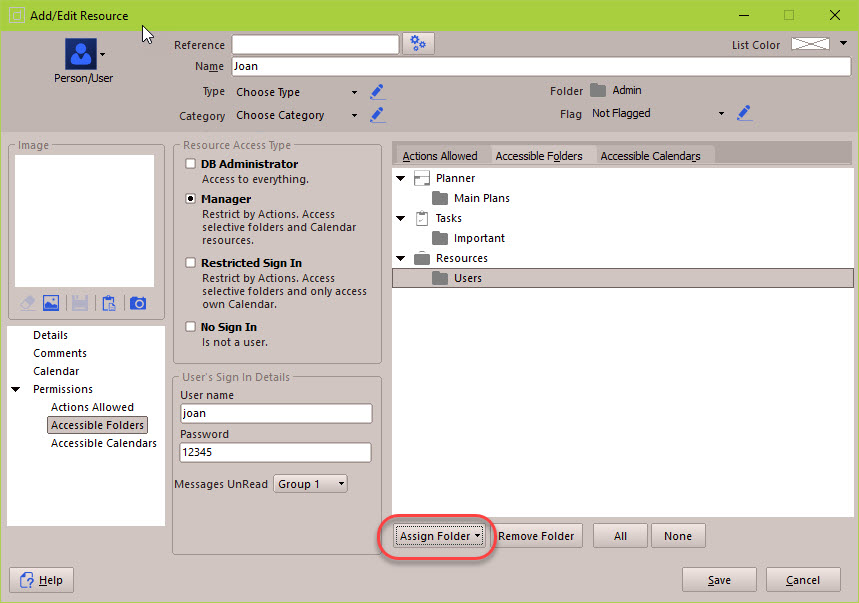
Joan, the Office Manager, is setup as a "Manager", but in the "Actions Allowed", only certain items are checked.

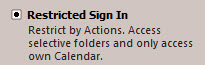
Sally the secretary is added as a "Restricted Sign In" and Todd also as a "Restricted Sign In" with various access permissions.
Note also, the "Calendar" tab. Sally needs to have her events scheduled and so does Joan. Therefore the "Shown in Calendar" box is checked.
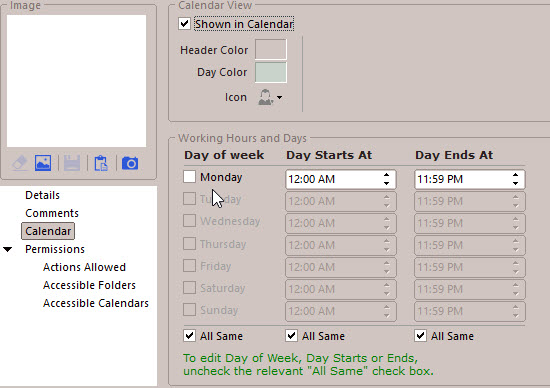
This means Sally and Joan will have a Calendar block in the Calendar section. However, if Sally signs into the database, she will only see her own calendar, but Joan
will be able to see her own and Sally's calendars, due to the Manager status.
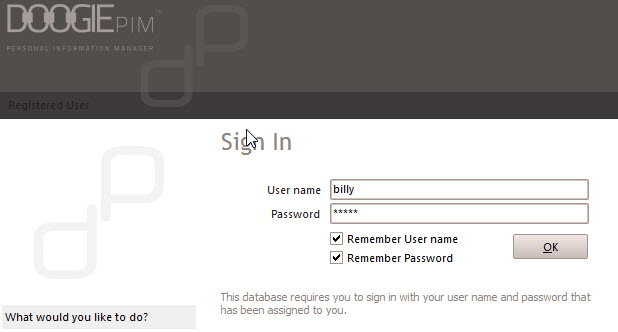
Now the database is setup. Each person runs doogiePIM on their own PC and goes to Open Database. They choose the database file, which is located on a shared folder on a master PC in the office. But instead of going straight to the records, the user will see the Home Page but with a request to sign in. Here they will enter their username and password. When accepted, they will see their home page with their appropriate tasks and events (however the home page data panels are setup).
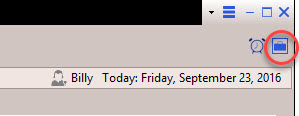
When a member of staff goes to lunch or leaves the desk, it is advisable to "Sign Out" so not to keep the database accessible. You don't have to close the database, you could just click on the "Sign Out" button in the top right or in the File menu.
Assigning Folders
When you wish for a Resource to have only specific access to certain folders, then this can be achieved using the "Accessible Folders" tab in the Resource Details Permissions window.
When assigning a folder to a resource, you should be aware that the Resource will be able to access that assigned folder and any sub-folders that are under that folder.
For more visual folder examples
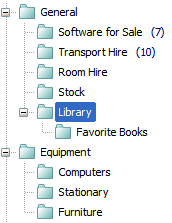
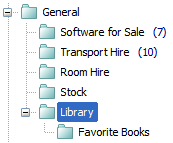
Joan is only assigned the folder "General", therefore Joan can access "General", "Software for Sale" up to and including "Library" and "Favourite Books". 7 Folders in total. But Joan can't access Equipment or any of those sub-folders.
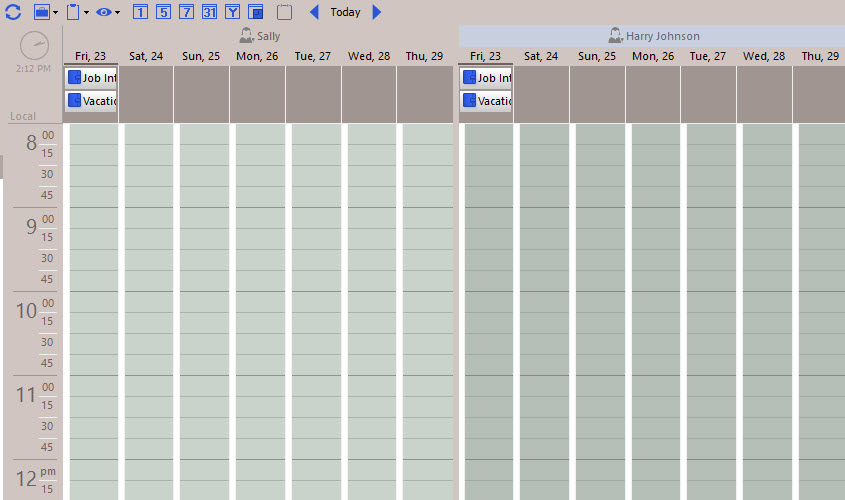
This would be Joan's view of the folders:
If Joan is only assigned "Favourite Books" then her view would be like this:
![]()